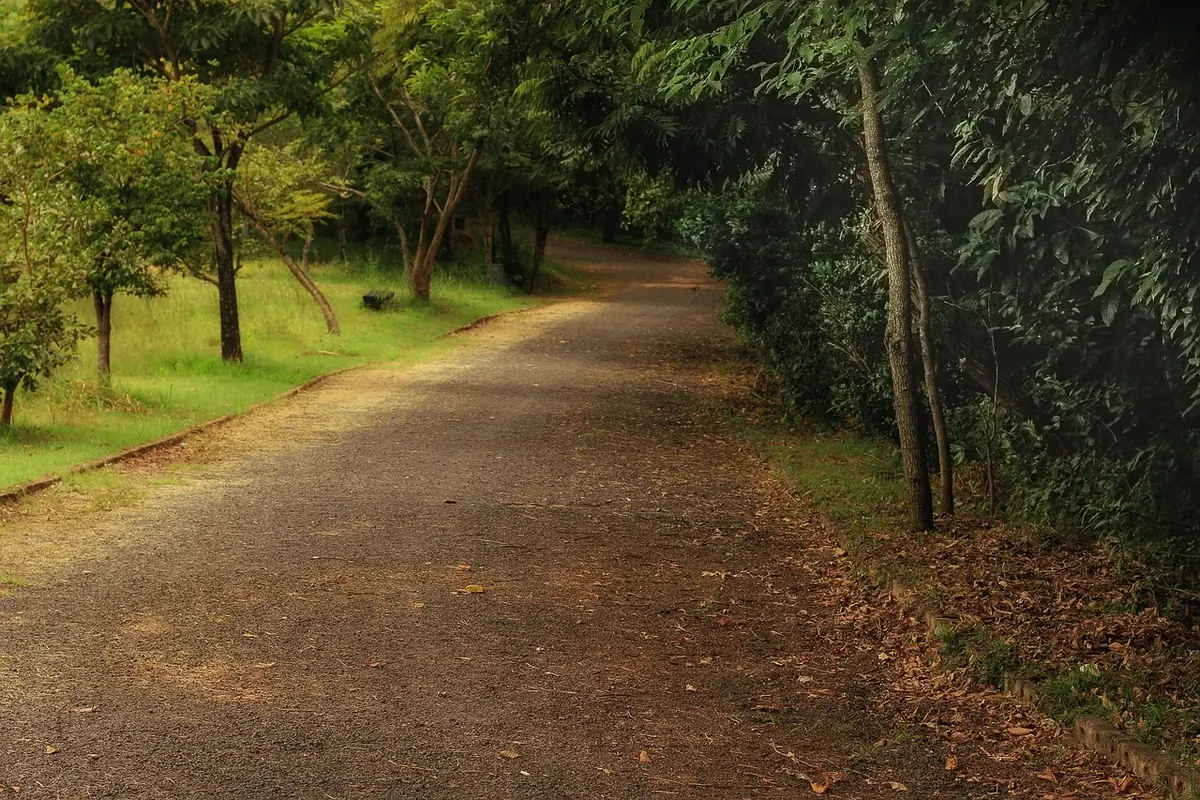
A straight path does its job, but it tends to look like a route march. A gentle bend gives the eye something to follow, softens the view of a fence or a shed, and makes the walk down to the compost heap feel less like a chore. The trick is to make the curve look as though it was always there — as if the path bent because the garden asked it to.
That means setting the line out properly before the spade comes out, building a base that will not settle into dips, restraining the edges so the gravel stays put, and planting the margins so the whole thing settles into the border. Allow a weekend, maybe two, depending on how much tea is involved.
Designing a Curve That Looks Natural
Most garden curves fail because they are too tight. A path that wiggles like a snake will always look fussy, and you will find yourself stepping off it to cut the corners. Aim instead for one long, shallow sweep — think of a country lane rather than a slalom. As a rough guide, a curve with a radius of two to three metres reads as gentle; anything tighter starts to look deliberate.
The other mistake is bending a path for no reason. A curve works best when it responds to something: the trunk of an apple tree, the corner of a patio, a patch of shade where nothing grows. Walk the route you would naturally take, then lay a hosepipe or a length of rope along the centre line and leave it for a day. Look at it from an upstairs window, from the back door, and from the far end. Photographs are unforgiving in a useful way; a shape that looks fine from one angle often reveals its awkward bits on screen.
Also consider where the curve takes the walker. Bends should open out a view, not block it. If the path leads to a gate, let the last metre or two run straight towards it so the eye has a finish line.
Setting Out the Line Accurately
Once the shape pleases you, fix it on the ground.
- Peg the centre line every metre with short canes, following the hosepipe, and check the sweep by eye from a few paces back.
- Decide the width — 900mm is comfortable for one person, 1.2 metres if two will pass or you want room for a wheelbarrow.
- Measure half the width out from each cane, on both sides, making sure your measurements run at right angles to the line rather than diagonally. A builder's square or a 3-4-5 triangle made from string keeps this honest.
- Join the outer points with sand trickled from a bottle, or with marking paint, and cut the turf along those lines with a half-moon spade.
Wander along the marked edges before you dig. If one side bulges and the other pinches, move the pegs rather than living with it. Sand is easy to move; compacted sub-base is not.
Digging Out and Building the Base
Excavate deep enough for every layer to come: sub-base, bedding, and the surface itself, plus a little spare. For a pedestrian path you are usually looking at around 150mm of digging, more where the ground is soft or heavy clay. Cut the edges vertically, with a spade, so the sides of the trench are clean.
Before you go far, run a cable detector over the route. Services are rarely where you expect them, and water pipes do not forgive a fork. Keep well clear of established trees and shrubs too: roots spread wider than the canopy, and severing anything substantial can set a good tree back for years. If a path must pass close to one, keep the excavation shallow and work by hand.
Fill the trench with compacted hardcore or MOT Type 1, laid in layers of about 50mm and firmed with a plate compactor or a heavy hand tamper. Compacting in thin layers is what stops a path from developing hollows after a wet winter. Give the surface a slight fall away from the house — around 1 in 80 is plenty — and check it with a straight edge and a spirit level as you go. On gravel paths, a permeable geotextile membrane over the sub-base keeps the stones from sinking into the soil.
Edging That Holds the Curve
Edging is what keeps a curved path looking deliberate rather than spilled. It also stops gravel migrating into the lawn and stops soil creeping onto the path.
- Steel or aluminium strip: slim, almost invisible, and easy to bend to a radius. Best for gravel and bark.
- Brick sets or stone kerbs: traditional, substantial, and they take a little more work to lay along a sweep.
- Timber sleepers or boards: good for straight runs and gentle arcs, though they will need replacing eventually.
- No edging at all: fine for stepping stones set into a lawn, where the grass itself does the job.
Whatever you choose, set it on a bed of concrete and haunch the outer face so it cannot wander. Check the top height against the finished surface — level with paving, or a whisker above gravel so the stones do not spill over. Follow the pegs rather than your eye alone, and check the curve from a distance at regular intervals; small errors compound quickly along a bend.
Laying the Surface
Gravel is the easiest surface for a curve, because it simply accepts the shape. Spread it 40–50mm deep over the compacted base, rake it to an even layer and tamp it lightly. Paving needs more care: bed each slab on a full mortar bed, not dabs of mix at the corners, and keep joints consistent, around 10–12mm, so the sweep reads as a single line. Stepping stones through grass can go in on a bed of sharp sand, set flush with the turf and spaced to match your natural stride — usually somewhere around 600–700mm between centres.
Planting Alongside the Path
Plant after the hard work is finished, never before. Leave a margin of 30–45cm between the path edge and anything you put in the ground, so foliage can lean over without snagging your legs or hiding the line you worked so hard to set out.
Low, clump-forming plants suit a path best. Thymes, alpines, hardy geraniums, catmint, lady's mantle and sedums knit together without flopping. In shade, try epimedium, ferns, heuchera and wood anemone. Dwarf narcissi and snowdrops along the edges give spring interest when little else is happening, and a few soft grasses add movement without blocking the view. Avoid anything that runs — mint, bamboo, the more thuggish anemones — especially beside gravel, where it will colonise the stones and never leave.
Water new plants well through their first summer, mulch around them but keep mulch off the path surface, and resist the urge to fill every gap. A little bare soil at the edge makes the planting look established rather than newly installed.
Aftercare and Small Adjustments
Paths settle. Expect a few millimetres of movement in the first year, particularly through a wet winter. Top up gravel where it thins on the outside of the curve — that is always where it drifts — and rake the edges back into line. Check that the fall still carries water away from the house rather than pooling midway. Firm any edging that has shifted before it moves further.
Then leave it alone for a season. A curved path only starts to look right once the planting has grown into it, the edges have weathered, and the gravel has settled into something a little less new. By the following spring, nobody will be able to tell where the bend came from.
Photo: OrlandoSantana / Pixabay