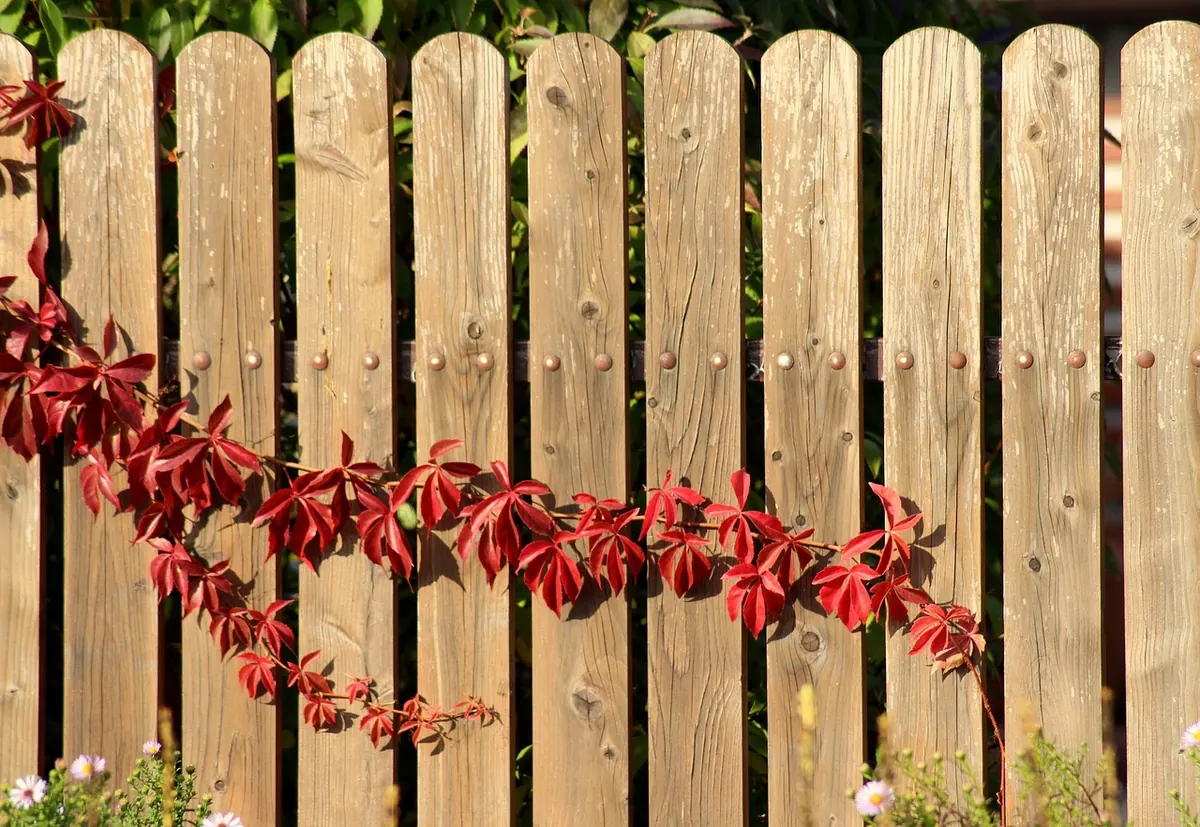
A trellis turns a bare brick wall into a growing space, and it does it without hammering a single nail into the brickwork. Get the fixings right and the wall stays sound, the trellis stays put, and next spring's climber has something solid to scramble up. Get them wrong and you're left with a wobbly frame, a row of cracked bricks and a plant that never quite settles.
The difference is rarely about effort. It's about matching the fixing to the wall, keeping the timber off the surface, and drilling fewer, deeper, better holes.
Work Out What You're Drilling Into
Most garden walls in the UK fall into a handful of types, and they behave very differently under a drill bit. Soft Victorian brick is sandy and crumbly, and it will not hold a short screw in a shallow hole. Fletton and engineering bricks are hard and dense; they blunt cheap bits quickly and can crack if you force a screw into a hole that is too small. Rendered or painted walls hide whatever is underneath, and a fixing that only grips the render will pull out the first time the wind gets behind a full climber.
Scratch the mortar with an old screwdriver. If it powders away easily, you're probably looking at lime mortar, which has very little grip. In general, fixings belong in the brick itself rather than the joint — that's where the strength is. The exception is a wall of old, fragile bricks, where drilling the mortar joint is the lesser of two evils.
Before the drill comes out, run a cable and pipe detector over the area. Outdoor sockets, taps and garden lighting all mean cables and pipes run through walls where you might not expect them. If you're at all unsure what's behind the surface, or you're working near anything electrical or gas-related, stop and ask a qualified electrician or gas engineer to advise before you drill.
The Kit Worth Having
You don't need much, but the wrong bits will cost you bricks.
- A drill with hammer action, or an SDS drill for hard brick. Switch the hammer off for the first few millimetres so the bit doesn't skate across the face.
- Sharp masonry bits in the sizes that match your plugs — typically 5.5mm, 6mm, 7mm and 8mm. Check the plug packet; it will tell you the correct hole size. A blunt bit burns, overheats and cracks brick.
- Wall plugs for ordinary loads, plus a few frame fixings or resin anchors if you're hanging something heavy.
- Coach screws or stainless steel screws, 60–100mm long. Stainless is worth the extra on exposed or coastal walls.
- Spacers or treated battens, 25–50mm thick.
- A spirit level, pencil, tape, goggles, dust mask, and a brush or vacuum for clearing holes.
Why the Gap Behind the Trellis Matters
Pushing a trellis flat against brick looks tidy for a fortnight and causes trouble for years. Without a gap, rainwater sits between timber and wall, the brick stays damp, and you get moss, algae and a trellis that rots from the back. Climbing plants suffer too — humid, still air behind dense foliage is exactly what mildew enjoys.
Fix vertical battens or purpose-made plastic spacers to the wall first, then screw the trellis to those. A 25mm gap is the minimum; 40–50mm is better for vigorous growers like wisteria or grape vines. As a bonus, the battens give you something solid to tension stainless steel wires against later, which is often a better long-term support than the trellis itself.
Fixing a Trellis to Brick, Step by Step
- Hold the trellis in position and mark the fixing points with a pencil, using a spirit level to keep everything true. Mark the battens, not just the thin trellis frame.
- Plan the number of fixings. For a panel around 1.8m by 0.9m, four to six well-placed fixings are usually plenty. Go along the top and bottom rails at roughly 600mm centres, and always fix near the corners. Anything taller, or in an exposed spot, needs more.
- Wrap a piece of tape around the drill bit to mark the depth — the length of the plug plus a few millimetres. Drill straight, slowly, with the hammer off until you're through the hard outer face. Drilling at an angle is one of the commonest reasons screws end up crooked.
- Clear the dust. Brush or vacuum out each hole. Dust left in the hole stops the plug gripping, and no amount of tightening will fix that.
- Tap the plug in so it sits flush or a fraction below the surface. If it won't go in, the hole is too small — redrill, don't hammer harder.
- Screw the spacer or batten on, then the trellis. Tighten until snug. Once you feel real resistance, stop; over-tightening is what cracks brick faces.
- Run a thin bead of silicone sealant around the top of each fixing on exposed walls. It stops water tracking down the screw and into the wall.
Matching the Fixing to the Plant
Clematis, jasmine and honeysuckle are light enough for standard plugs and screws. Wisteria, mature ivy and grape vines are another matter, particularly when wet and catching the wind. Assume the plant will be far heavier than it looks in its pot.
For anything substantial, threaded rod set into resin is the most reliable option, and it is also the best answer for soft or perforated brick where ordinary plugs spin uselessly. A stainless wire system tensioned between sturdy eyebolts, with the trellis as a decorative frame, will outlast most timber. If the wall is rendered, remember that render alone won't hold weight — you need to reach the brick behind, which means longer fixings or a batten fixed through a small patch of removed render, made good afterwards.
A Last Check Before You Tidy Up
Give the finished trellis a firm tug in a few directions. If there's any movement, add a fixing rather than tightening the existing ones harder. Come back after a wet and windy winter and check the screws again, re-tightening any that have worked loose. If you ever remove the trellis, fill the holes with a matching mortar, pressed in and smoothed flush, so water can't sit in them. Done properly, a trellis fixed this way leaves a brick wall as sound as it found it — and gives your vines somewhere to climb for years.
Photo: Michael_Laut / Pixabay