Few things change a plain wall or a bare fence faster than a climbing vine. Sweet peas scrambling up a wigwam, honeysuckle scenting the path by the back door, a clematis threading through an old apple tree — all of them earn their space within a season or two. The catch is that most climbers are not self-sufficient. They need something to reach for, a little guidance while their stems are still flexible, and a prune or two to stop them collapsing into a tangled heap. Get those three things right in the first year and you will spend the rest of the plant's life simply enjoying it.
Before you buy: match the vine to its wall
Aspect matters more than most new gardeners expect. A south or west-facing wall holds warmth and suits wisteria, grape vines, passionflower and climbing roses. A north or east-facing wall is cooler, shadier and slower to dry out, which suits ivy, Virginia creeper and the climbing hydrangea. Putting a sun-lover against a cold north wall is the most common reason a new climber sulks for a year and then gives up.
Look at the soil too. The ground at the foot of a wall is usually dry and poor, because the wall itself shelters it from rain — gardeners call this the rain shadow. That is why you should plant roughly 30 to 45cm away from the wall and angle the stems back towards the support, rather than tucking the rootball hard against the bricks.
Finally, be honest about vigour. Russian vine and ivy will cover a garage in a few years and will happily wander into a neighbour's garden. Check where your boundary lies and choose something you can realistically keep in bounds.
Planting: getting the roots off to a fair start
- Soak the rootball in a bucket of water for twenty minutes while you dig. Dry roots take months to recover.
- Dig a hole roughly twice the width of the pot and the same depth, then fork over the base and sides so roots can push out.
- Improve the soil with a couple of handfuls of garden compost or well-rotted manure, mixed with the excavated soil rather than dumped in as a lump.
- Plant at the right depth. Most vines sit at the same level they were in the pot. Clematis is the exception: many growers plant it 5 to 8cm deeper, which encourages new shoots from below ground and helps the plant survive a bout of clematis wilt.
- Firm, water and mulch. Water until the soil settles, then spread mulch 5cm deep, keeping it clear of the stems. Finish by tying the stems to a temporary cane angled towards the permanent support.
Sorting out the support
Choose the support before you plant, not after. Retrofitting a trellis around an established honeysuckle is a miserable job. Whatever you use, fix it so there is a 5cm gap between the support and the wall; the airflow discourages damp-related problems and gives you room to tie stems in behind the wires.
- Tensioned wires: the tidiest option for walls. Screw vine eyes into the brickwork and run galvanised wire between them, spaced 30 to 40cm apart.
- Wooden trellis: quick to fit to a fence, but check it is sturdy enough for the plant. Thin trellis and heavy wisteria are a poor combination.
- Metal obelisks and wigwams: ideal for annual climbers and for growing sweet peas or morning glory in a pot.
- Arches and pergolas: genuinely load-bearing, and the best home for climbing roses and wisteria.
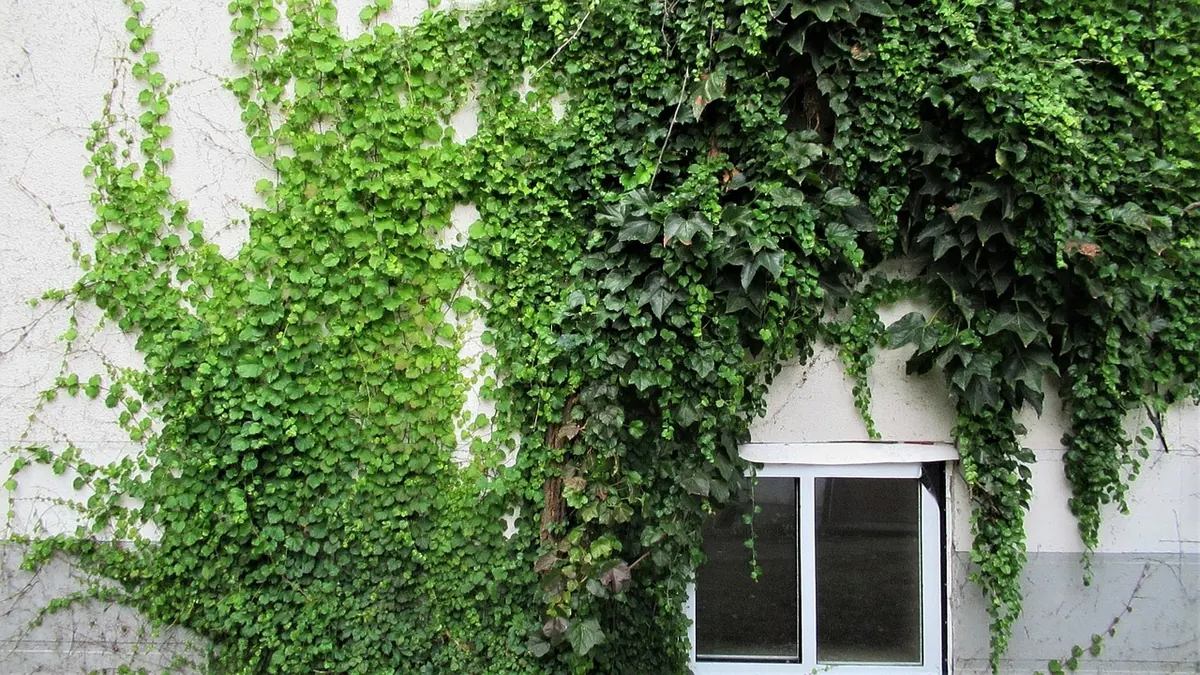
Self-clinging plants such as ivy and Virginia creeper need no support at all, though they will exploit any existing crack in mortar or render, so keep them away from walls you are fussy about.
Tying in: gentle, and little and often
Tying in is the small weekly job that separates a neat climber from a bird's nest. Use soft garden twine rather than wire, and always tie in a figure of eight: one loop around the stem, one around the wire, with the crossing point between them. This holds the stem securely without throttling it, and lets the plant move in the wind instead of rubbing itself raw.
Tie to the support, never in a tight loop around the stem alone. Check ties every few weeks through the growing season, and loosen or replace them as stems thicken — a tie that fits in May can bite by August. Climbing roses, which have no twining habit of their own, need tying in throughout their lives, so treat it as routine rather than a one-off task.
Early pruning: build a framework, then let it flower
In the first year, aim for structure rather than blossom. Cut out anything damaged, crossing or obviously weak, and leave two or three strong stems to form the permanent framework. Pinch out the tips of annual climbers such as sweet peas when they have two or three pairs of leaves; you will get a bushier plant with far more flowers.
A quick word on clematis
Clematis is pruned according to when it flowers. Early-flowering types such as Clematis montana are trimmed straight after flowering. Large-flowered summer types get a light tidy in late winter. Late-flowering sorts like Clematis viticella are cut back hard in late winter, to around 30cm, which pushes up vigorous new growth. If you are unsure which group you have, the safe approach is to leave the plant alone for its first year and prune only after you have seen when it flowers.
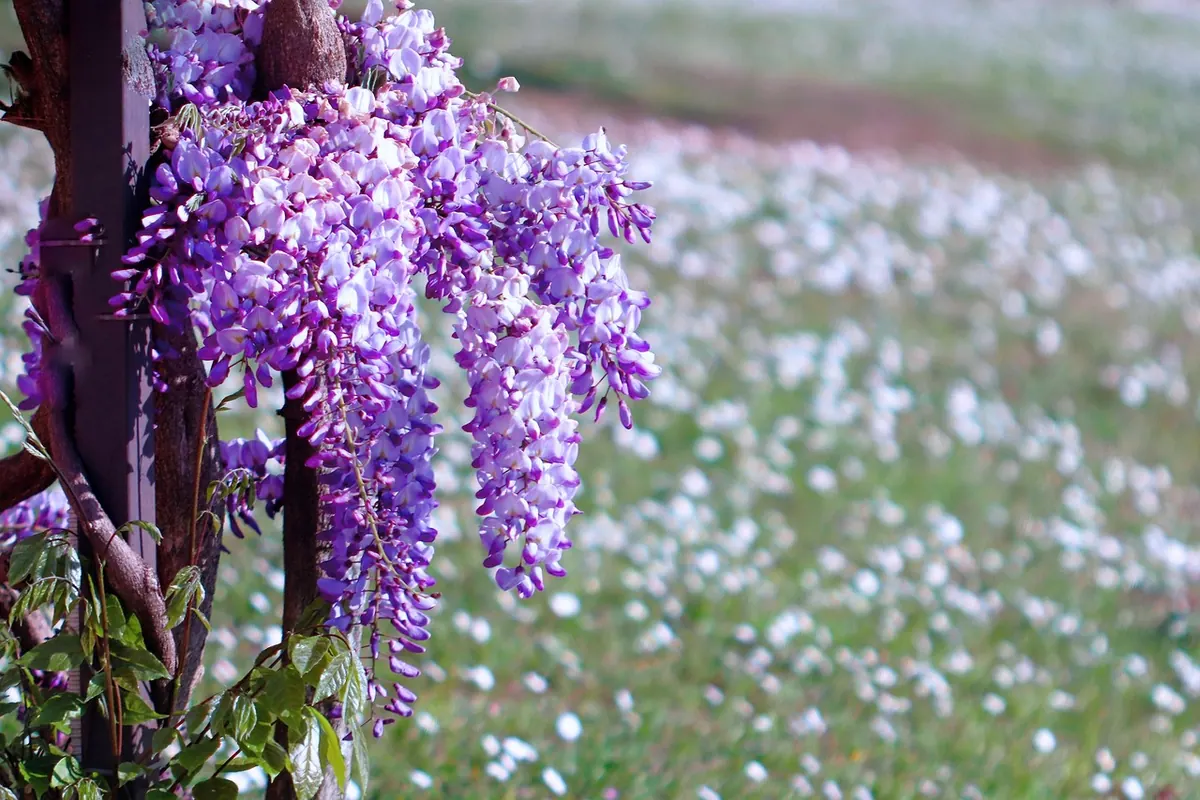
Wisteria is different again. Choose one leader to run along the support, tie it in and remove competing shoots, then begin the familiar routine of shortening side shoots in summer and cutting them back further in winter. Be patient: a young wisteria may take several years to settle before it flowers.
Watering and feeding in the first year
A new climber has a small root system and a lot of top growth to support, so water it thoroughly once a week in dry spells — a slow soak at the base, not a quick sprinkle. Plants in containers need watering far more often, sometimes daily in summer. Feed with a balanced fertiliser in spring, and go easy on nitrogen-rich feeds, which produce leafy growth at the expense of flowers. Keep mulching each spring.
Strong plants are built in the first two years. After that, most of the work is simply tying in and the occasional tidy-up.
Your first-year checklist
Plant at the right distance from the wall, with the support already fixed in place. Water deeply and mulch. Tie in every week or two through summer, using figure-of-eight loops and soft twine. Remove only weak or crossing growth in the first season, and let the plant concentrate on roots and framework. Take a photograph in midsummer so you can remember what grew where.
If growth stalls, check the obvious things first: dry soil, a tie that has become too tight, or a pot that has been sitting in water. Nine times out of ten, one of those is the answer. Sort it, keep watering, and let the vine get on with what it does best.
Photo: Joyvideo123 / Pixabay